Access
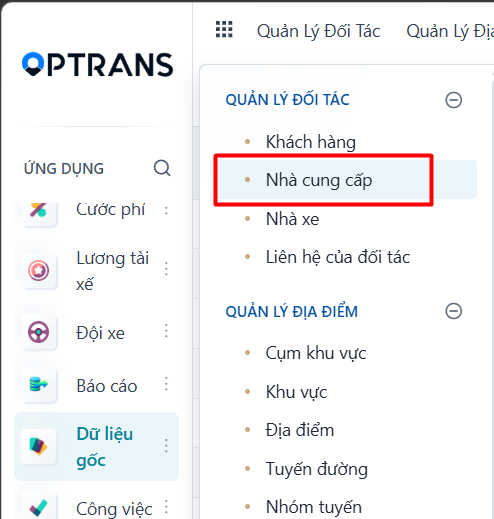
Menu: Master data > Customers
Access rights: Users granted Master Data management rights
Use the path above to open the screen where you create a new customer.
Steps
Step 1
Click NEW to create a new customer.

Step 2
After you click NEW, the system opens the form view. Enter the information to create the new customer.
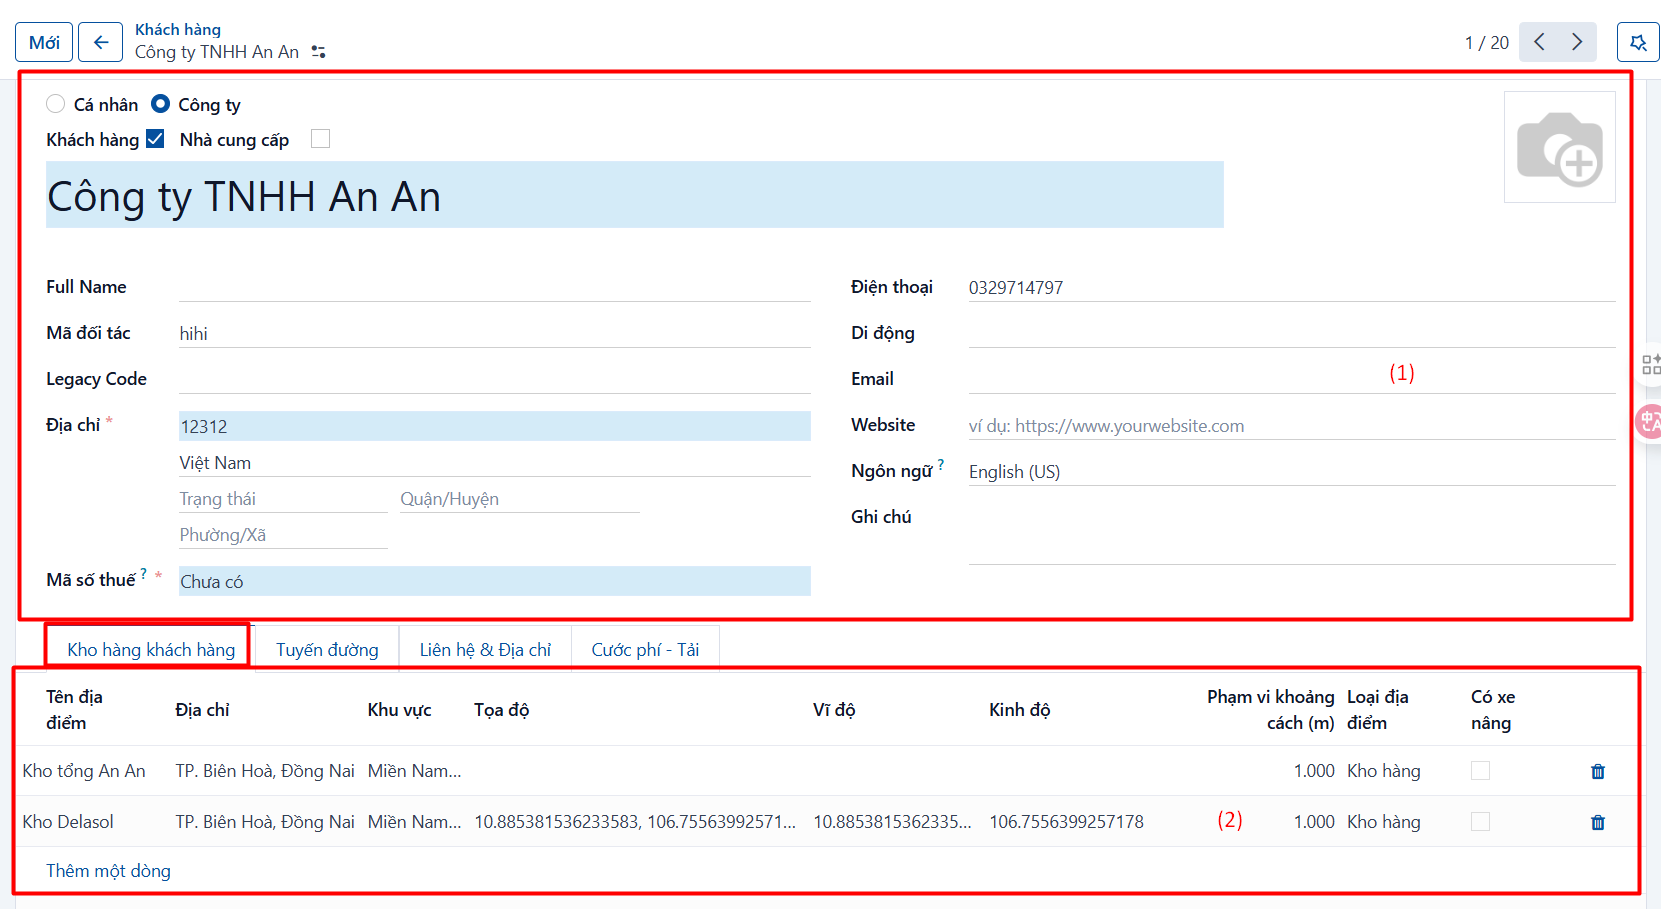
General information [1]
| No. | Field | Notes |
|---|---|---|
| 1 | Partner type | Required. Whether the customer is an Individual or a Company. |
| 2 | Customer type | Required. Select Customer or Supplier. |
| 3 | Name | Required. Enter the name of the customer you are creating. |
| 4 | Company | Only select this when “Partner type” is Individual. Select the company that individual customer belongs to. Not required. |
| 5 | Full name | Enter the customer’s full name, if any. |
| 6 | Partner code | Enter a unique code so you can tell customer and partner records apart. You can use the customer’s abbreviation. |
| 7 | Address | Required. Address of the customer. |
| 8 | Tax code | Required. Tax code of the customer. |
| 9 | Phone | Phone number of the customer. |
| 10 | Mobile | Mobile number of the customer. |
| 11 | Email of the customer. | |
| 12 | Website | Website of the customer. |
| 13 | Language | Language the customer uses. |
Partner location information (the customer’s warehouse) [2]
| No. | Field | Notes |
|---|---|---|
| 13 | Location name | Location of the customer. |
| 14 | Address | Enter the address of the location. |
| 15 | Area | Select the area. The list of areas is configured under the Areas menu. |
| 16 | Longitude | Enter the longitude of the location. |
| 17 | Latitude | Enter the latitude of the location. |
| 18 | Location type | Select the location type: Port, Warehouse, Depot or ICD. |
| 19 | Contact | Enter the contact person’s details. |
| 20 | Phone | Phone number of the contact person. |
| 21 | Has a forklift | Whether the location has a forklift. |
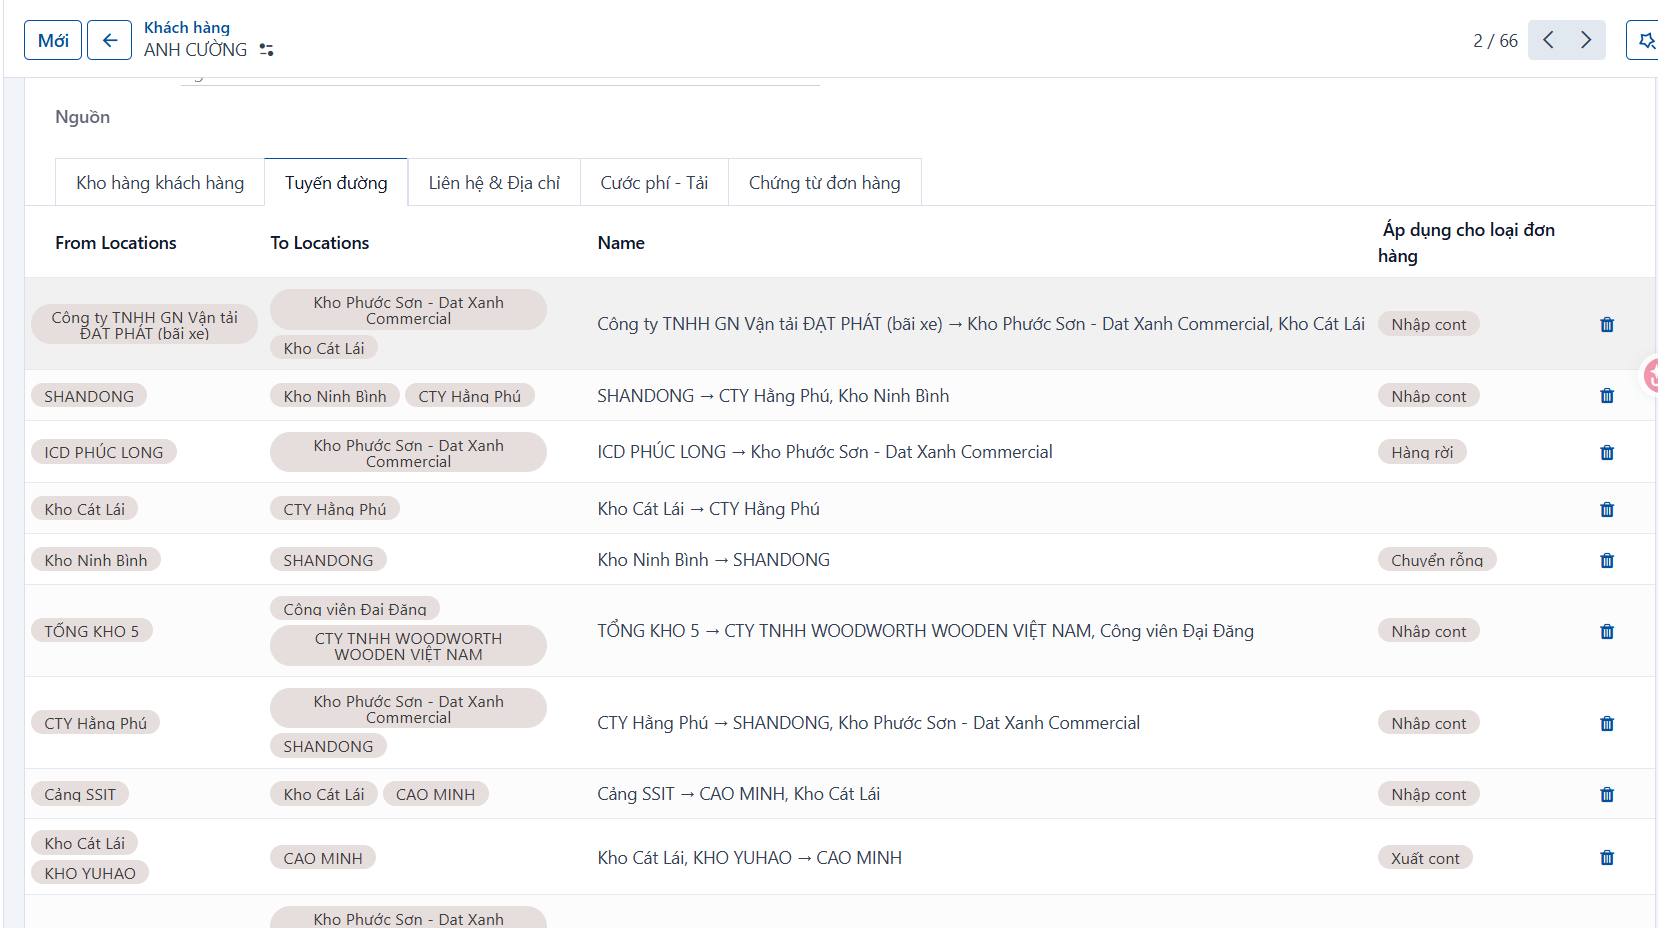
Route list information [3]
| No. | Field | Notes |
|---|---|---|
| 22 | From location | Origin location. The selection list is configured under the shared location list menu. |
| 23 | To location | Destination location. The selection list is configured under the shared location list menu. |
| 24 | Description | Enter a description. |
| 25 | Applies to order type | Select the order types the route applies to. You can select several. If you select none, it applies to all of them. |
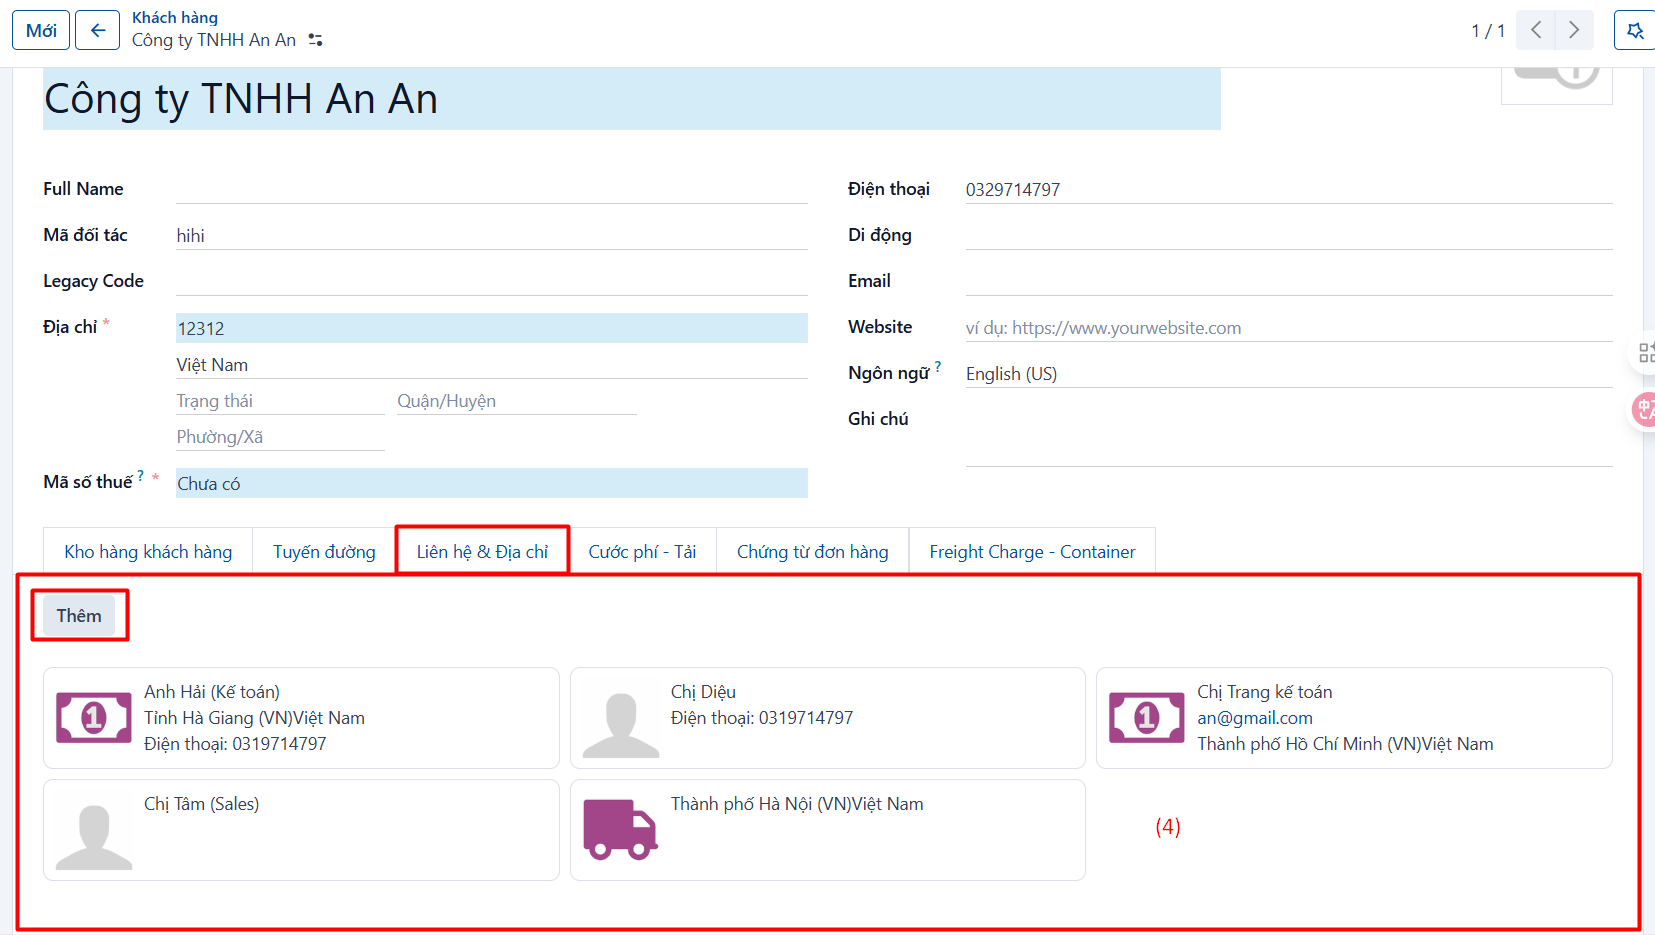
Contact information [4]
Click Add to add contact information.
| No. | Field | Notes |
|---|---|---|
| 26 | Contact type | Select the contact type: Contact (for ordinary contact details), Invoice address (this contact is the invoicing address), Delivery address (this contact is where goods are delivered) or Other address. |
| 27 | Contact name | Enter the name of the contact. |
| 28 | Address | Address of the contact. |
| 29 | Email of the contact. | |
| 30 | Phone | Phone number of the contact. |
| 31 | Mobile | Mobile number of the contact. |
| 32 | Company | The company this contact belongs to. |
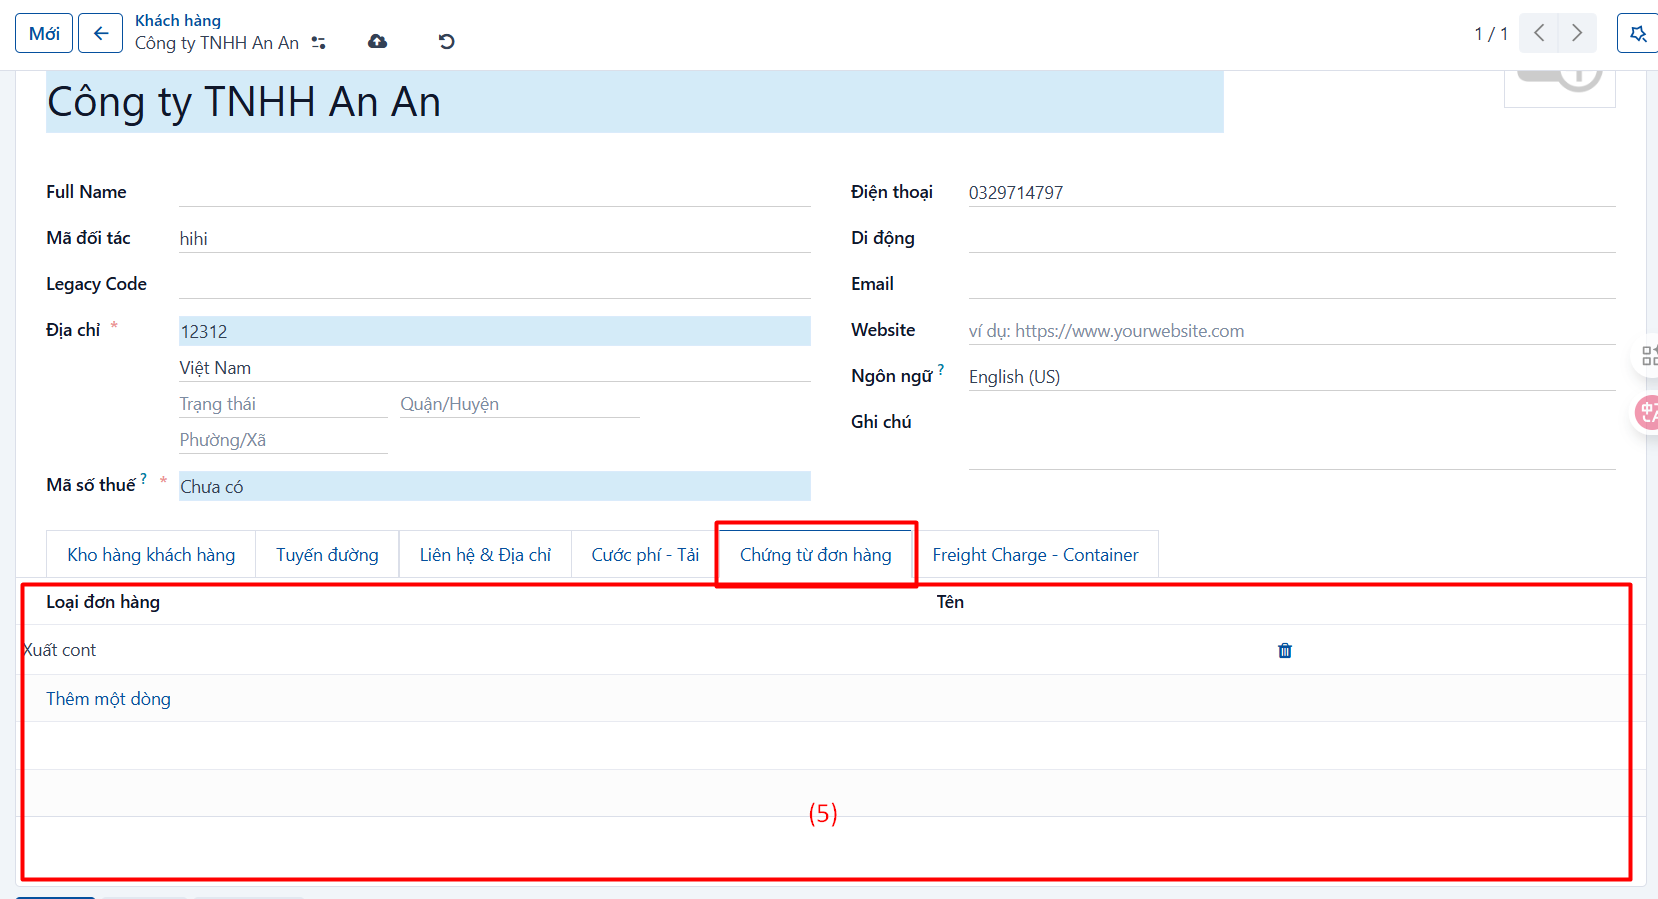
Document information per order type [5]
| No. | Field | Notes |
|---|---|---|
| 33 | Order type | The order type the document being created applies to. |
| 34 | Details | |
| 35 | Document name | Name of the document the order needs. The system lists documents from the Documents menu whose document type is Order. |
| 36 | Required when confirming the order | Tick this if the document must be present when the order is confirmed. |
| 37 | Description | Enter a description for the document. |
Step 3
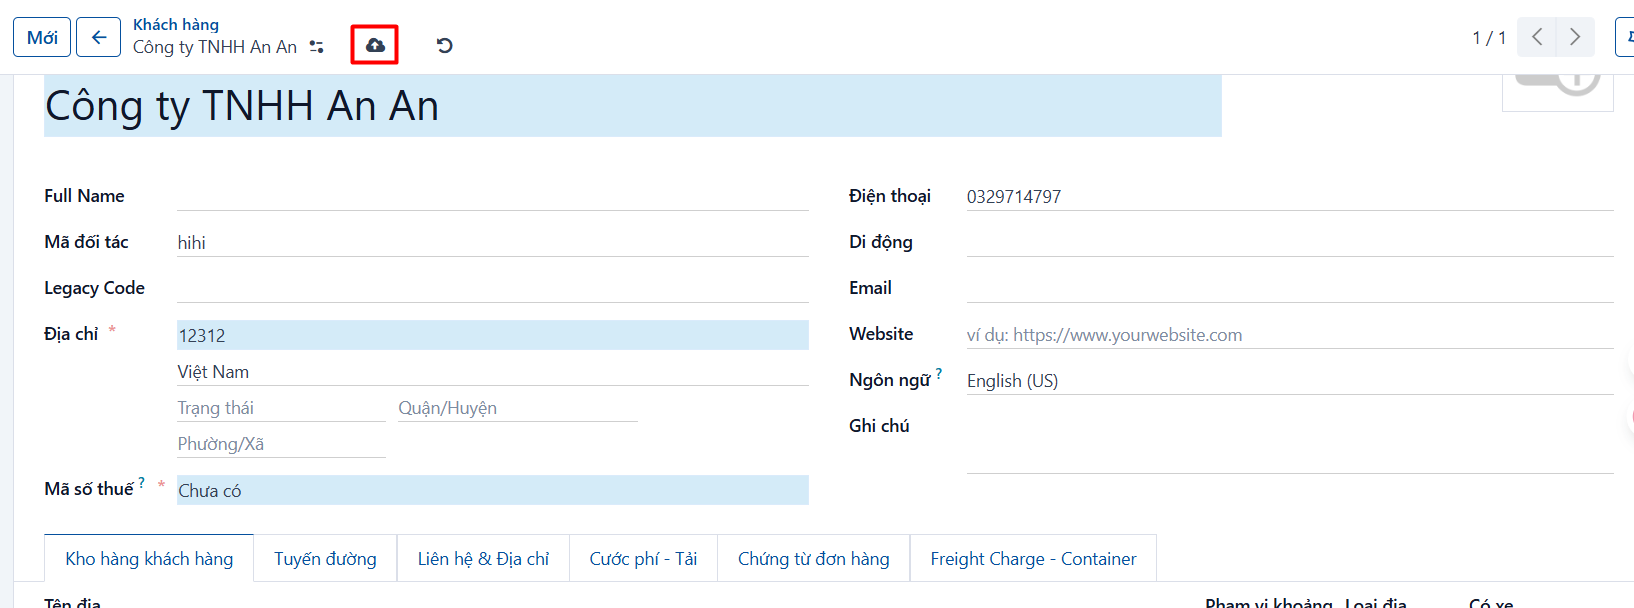
Once the information is entered, click  to save it.
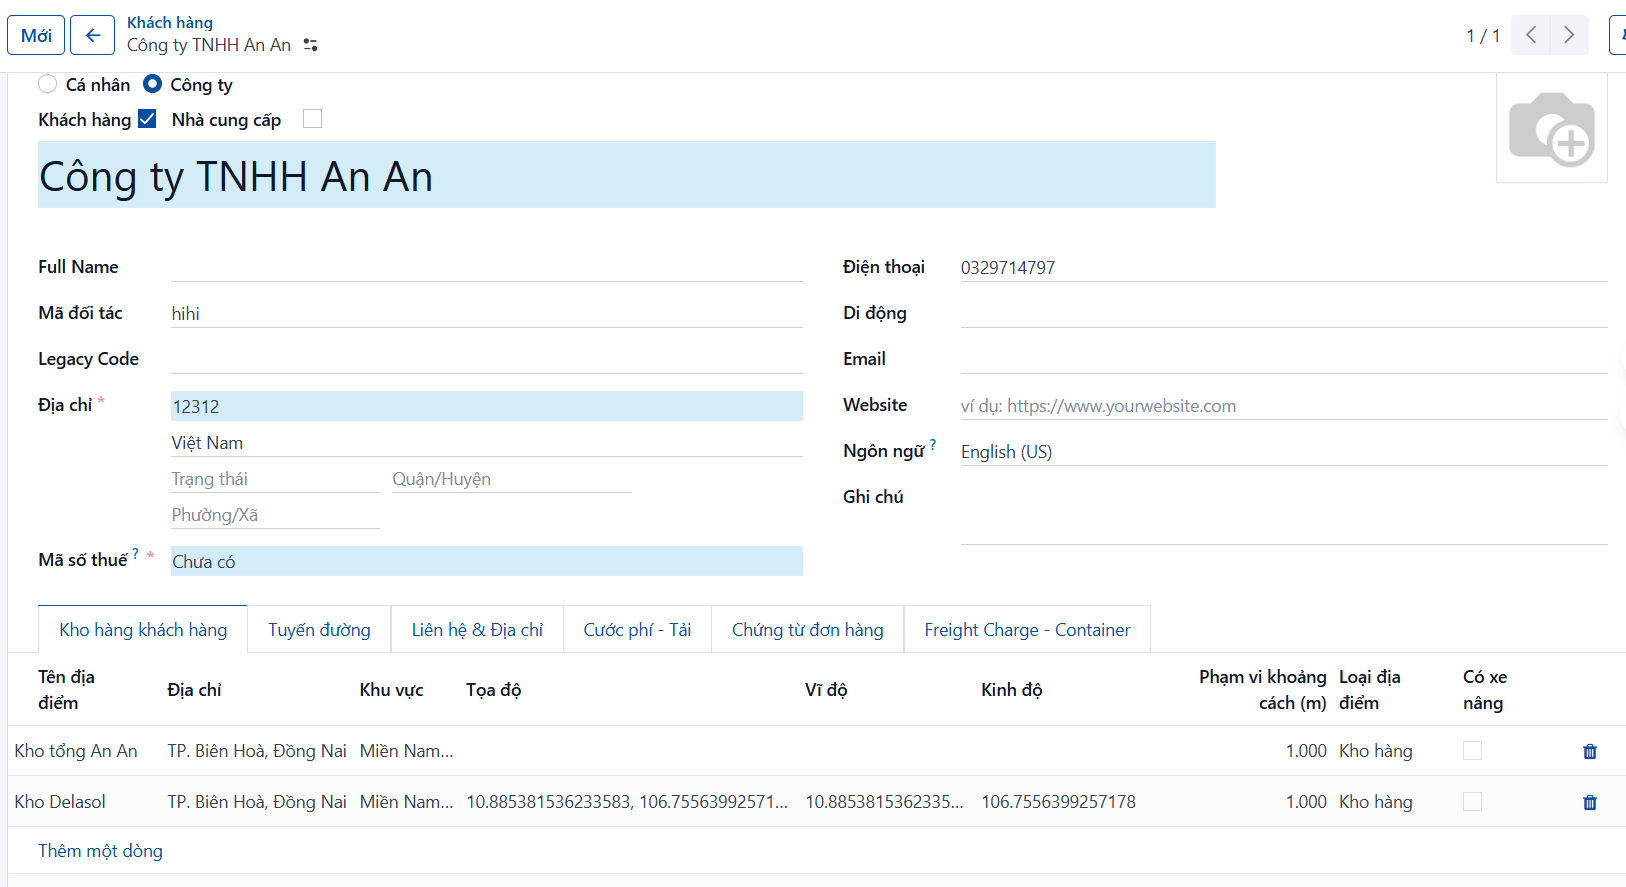
Result
The record after it has been created successfully.
PREVIOUSDelete an account
NEXTSuppliers